3 min to read
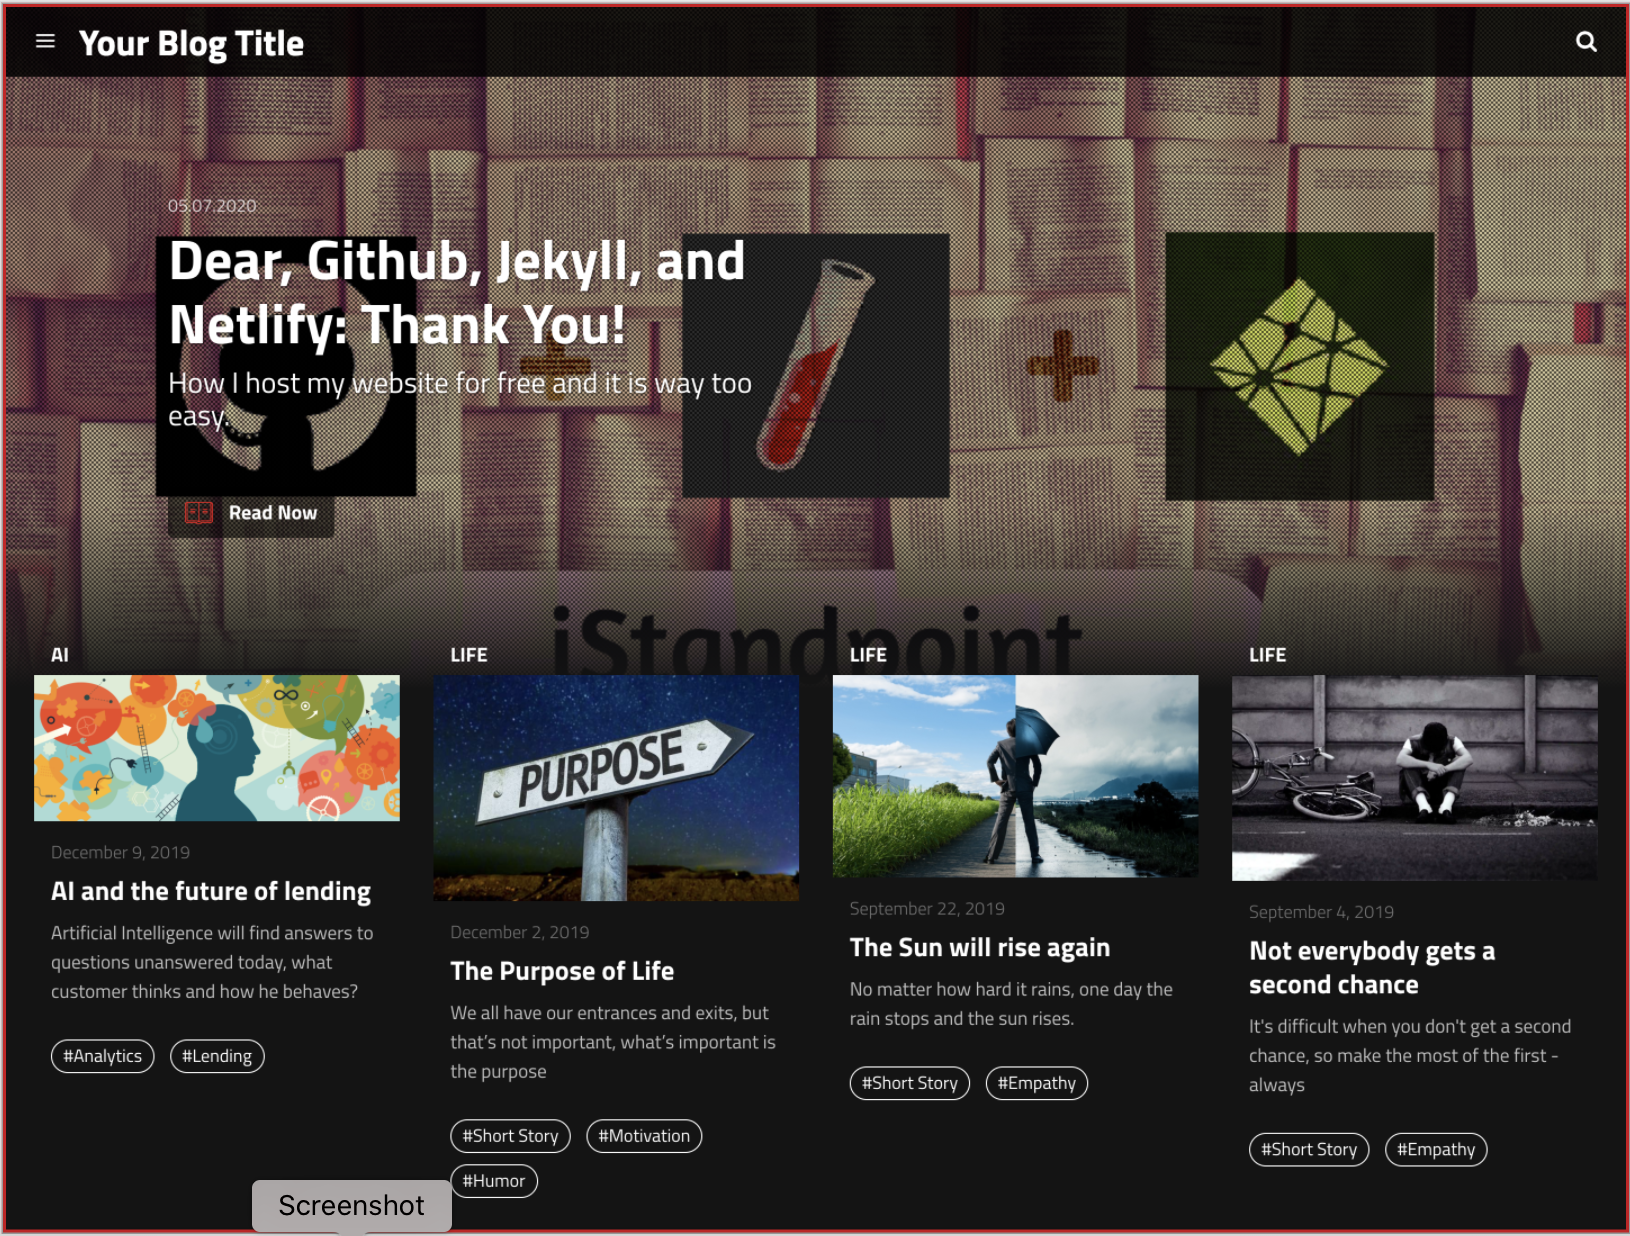
Dear, Github, Jekyll, and Netlify: Thank You!
How I host my website for free and it's quite easy.

Dear Github, Jekyll, and Netlify:
If you search, you can find God. Searching for ‘how to host a website for free’ was far too easy and it was because you all exist. So, thank you!
Thank you for Github Pages which allows us to host websites using a custom domain for free. Jekyll, you are awesome! The markdown file based themes that you provide are not only lightweight, but also database independent that makes it super easy to configure and manage static sites. And last but not the least, Netlify, without you, content management on Github would have been a nightmare. Your Open Source Content Management System, with an easy-to-use user interface, is simply the best.
Setting up my blog, iStandpoint, was an easy 3 step process: Create, Upload, and Deploy
CREATE A REPOSITORY IN GITHUB
The excellent documentation on the Github Help helped me well in getting started. I created the iStandpoint repository in Github, which now host my blog, and made the repository public, so that I can host my site on Github for free.
For using a custom domain, I had the option to configure the custom domain in Github or Netlify, I chose the later. So left the Custom domain in Github settings blank.
UPLOAD A JEKYLL THEME AND CONFIGURE
On the settings page, in the GitHub Pages section, there is an option to Choose a theme, but frankly, there are countless other themes that are much better. So I chose to use a theme by Thiago Rossener. I downloaded Jeklix-template and uploaded all the files in my repository. Next, all I had to do was - edit a few files to make the theme personal.
I followed the template wiki, and started with _config.yml where I updated the #Site Settings, updated disqus_usename, removed a few items under #Social Media Settings, and updated the google_analytics id. Created a markdown file for myself in the folder _authors. Changed favicon and other icons at assets/img/icons, and blog_image.png at assets/img, and I was ready for adding _posts.

Again, the Jekyll documentation was so good that I could understand the framework and customise the template further.
DEPLOY THE SITE IN NETLIFY
There are many options for deploying the Jekyll site and I would recommend to go with Netlify, they have made a very complex thing like deployment, very simple. I started by creating an account at Netlify.com, and followed this post to add Git repo in Netlify and configured the repo.

Once the site was built, inside app.netlify.com, which is a console to manage the site, I configured Site Settings and Domain Settings for the external DNS for a custom domain.
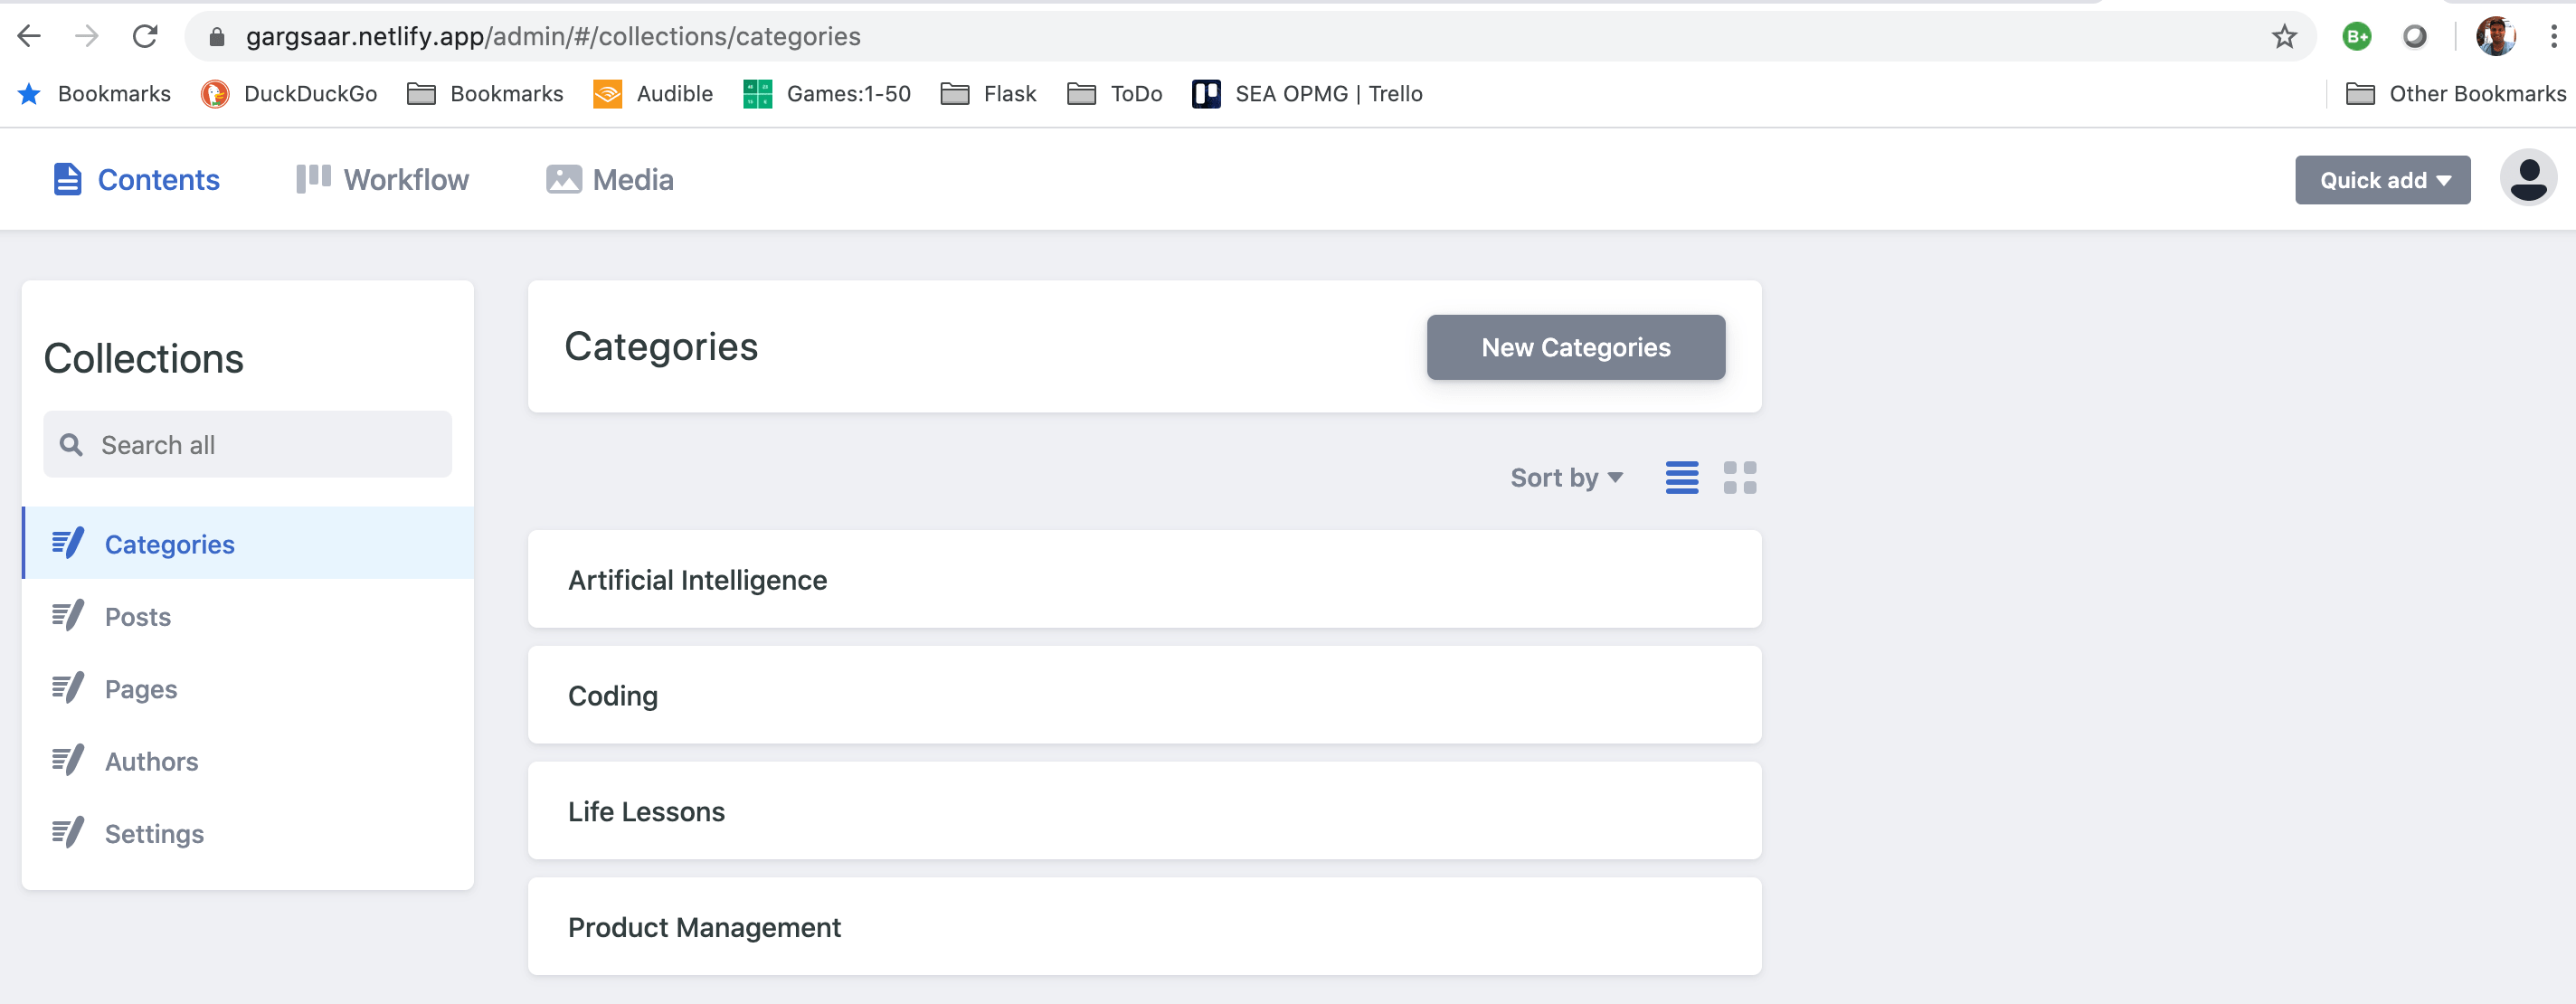
NetlifyCMS, the interface to create and manage content, was available at netlify_site_name.netlify_subdomain.app/admin.

And off I go, Hurray! I’M NOW ALIVE ON THE INTERNET.
In the end, I want to say that I’ve nothing against Wordpress, Wix, or Weebly - they are really good platforms for building websites. It’s just that they are not free (need to pay for using custom domain), and most importantly, they don’t give a feel that we own the code.
So, that’s why I chose you all because why to pay a penny for hosting websites elsewhere when we can do it for free!
Regards, Fanboy


Comments